Report
by Jon Ramer, President, International Association of Astronomical Artists
- Published: Thursday, June 27 2013 07:28
Like any other form of artistic creation, Space Art is about creating a work of art that elicits a response from a viewer, only the topic of the creation is space. My personal method of creating art is two dimensional visual imagery, more commonly called “painting.” As discussed in the last posting, there are several sub-genres of Space Art and my preferences lie in creating images that are Descriptive Realism or Cosmic Expressionism. In this article I will describe the methods of how I and many other members of the IAAA go about creating a Space Art work of Descriptive Realism.
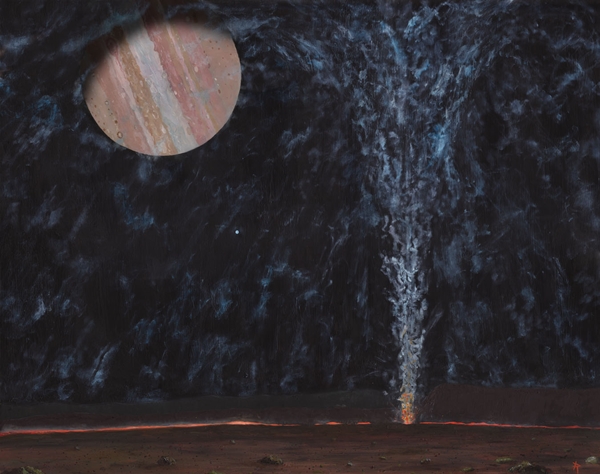
Members of the IAAA have a listserver in which we discuss numerous topics about art and space, from tidbits on sales to advice on images. Recently there was a discussion on Jupiter’s moon Io and the volcanoes there which made me want to paint a view on the surface of one of those spectacular eruptions. The idea in Descriptive Realism is to create an image as scientifically accurate as possible, so my first step was to “hit the books” and do some research.
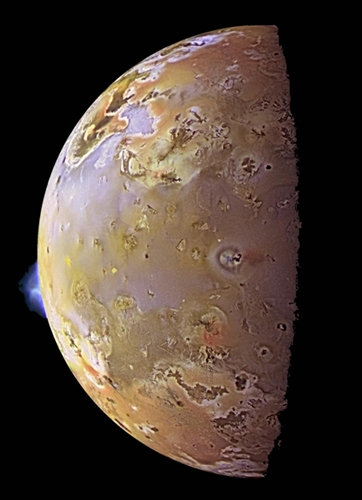
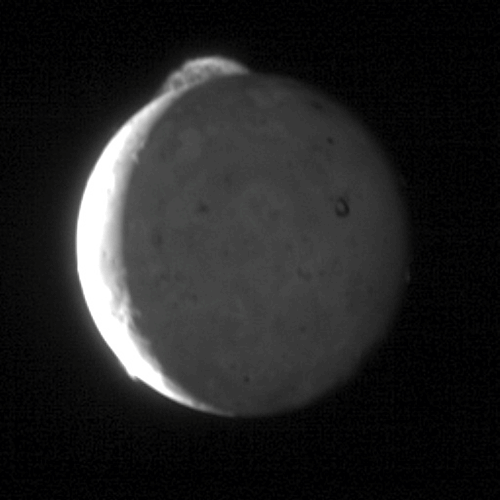
I had an idea of what I wanted to depict, a view from inside an active caldera with the vast umbrella of an eruption overhead, something showing a view from underneath one of the images captured by the various probes that have flown by Io.
 Credit: NASA/JPL
The first data to look up was where the active volcanoes were on the surface of Io. I found this in several books on my shelves but also on a NASA website with a very detailed map from the Voyager, Galileo, and New Horizon probes. I also looked up which volcanoes have been imaged with large Pillanian umbrella eruptions. Next, I had to determine where Jupiter would be in the sky overhead as I wanted to show the great planet too. Io is tidally locked with Jupiter, so from many of the volcanoes Jupiter is not visible at all. I needed a location where Jupiter would be fairly low near the horizon and not directly overhead. All of this data lead me to select the volcano named “Loki” for my painting.
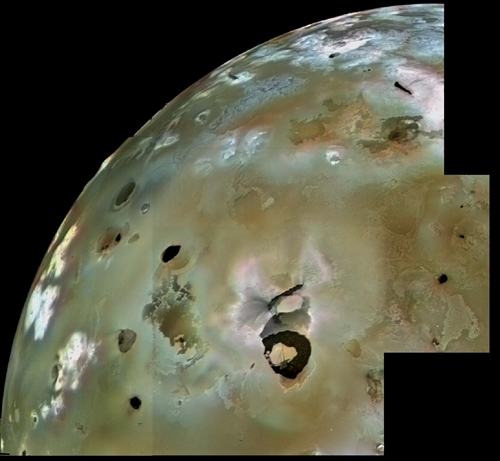
Once I had a general location, I needed more info on the specifics of the site. Loki Patera is over 200 kilometers in diameter and is situated at 13°N 309°W on Io. At that latitude and longitude Jupiter would be about 30 degrees up above the horizon and titled about 15 degrees to the left. A little math with Jupiter’s diameter and Io’s orbital distance showed that Jupiter itself would cover about a 20 degree arc in the sky. I knew I wanted Jupiter in the sky so my view would have to be facing the west. With the sky view set, I needed info on the ground.
 Credit: NASA/JPL
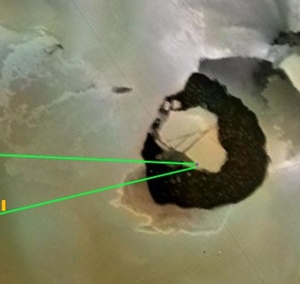
A little more research discovered that the cliffs around the caldera are about 900 meters tall. And a little more math using Io’s diameter showed that the horizon on Io is only about three kilometers away (on Earth it’s about 13). The same calculation shows that a 900 meter tall cliff would be visible just above the horizon even from the island in the center of the caldera. The close horizon was actually a problem for the image in my mind as the volcanic plumes in probe images are more than 300 kilometers high. If I were to position the image close enough to see the plume coming directly out of the ground, then the viewing position would be less than three klicks from the eruption and the view would basically be a vertical column of light. I found some other Galileo and New Horizons data that pinpointed a hot spot in the same place inside the caldera over time and is surmised to be the point where the Pillanian eruptions come from. Armed with that data I selected an altitude and spot faced towards Jupiter where the eruption point was slightly over the horizon. Now it was time to paint.
 I started to sketch the basic layout of the image, then I realized that I needed some reference on the time of day and shadows on both Io and Jupiter. That was relatively easy to do though. I took my son’s soccer ball and a tennis ball, placed a dot on the tennis ball approximately where Loki is, put both balls on the floor in a dark room, then walked around them with a flashlight. That gave me my shadows. Cassini images gave me my color palette for Jupiter.
First thing to go on the canvas was the black of space, then dark green-yellow for the cliffs of the caldera. The orange color of the molten lava came from Voyager imagery. I used lighter shades of green-yellow for the foreground with reflected light from Jupiter. The splatter of dots depicting small rocks of a rough surface was created by using a toothbrush with paint in it and flicking my finger across the bristles. In the IAAA, rocks made by this technique are often called “millerite” after Fellow member Ron Miller who first demonstrated the technique to many other members. Next to be painted was Jupiter and last was the column of ejecta being thrown up into the sky and the vast parabolic umbrella of that material coming back down. I modeled the "pattern" of the umbrella from a series of pictures shot by the New Horizon probe showing a lumpy motion in the ejecta as it moved.
 Credit NASA/JPL
Total painting time was about three hours, total research time was about five hours. Funny thing was, I didn’t like the painting. There was something wrong with the view. So, I sent a scan of it to two of my IAAA friends, Dan Durda, and Dirk Terrell, who are both artists and astronomers. They quickly (and very gently) pointed out that my placement of Jupiter threw the painting off balance. Helpful input from other IAAA artists is one of the benefits of our organization. When I looked back at my sketches, I saw that the view I drew was good, but I has missed that the cropping of the view to fit the canvas would change the image negatively. So, out came the black paint, and away went Jupiter. Such is the power of an artist! Then Jupiter came back in the more balanced spot you see now. I also tweaked the darkness of the caldera cliffs and added some more volcanic ejecta. Now I was happy with the final result, and I hope you are too....
###




Comments