
How to Create an Apollo 11 Moon Landing Diorama (AstroCraft Project)
") Frances Azaren
Frances AzarenBy Kathleen Horner
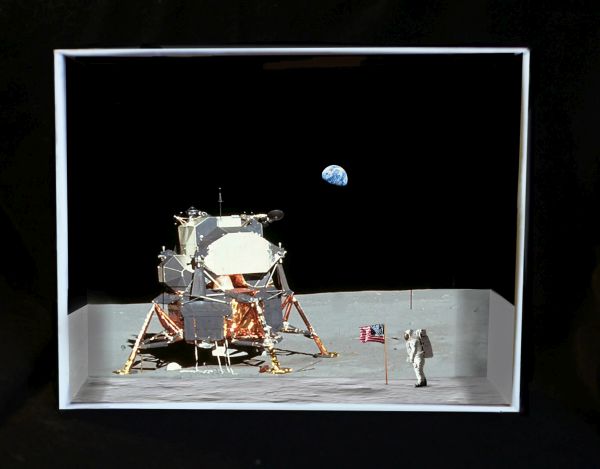
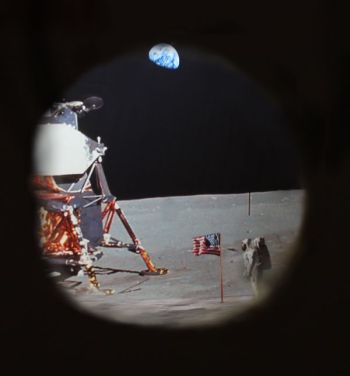
Moon landing diorama created from an old shoe box. Photo by Kathleen Horner
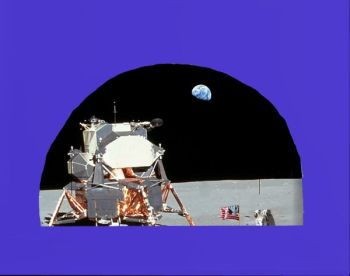
Photo inside the diorama courtesy of NASA
This month at Astronomers Without Borders, we are celebrating Global Astronomy Month and paying tribute to the 50th anniversary of the Apollo 11 moon landing. On July 20, 1969, Neil Armstrong, Buzz Aldrin, and Michael Collins were launched into a trajectory headed straight to the moon. I remember watching the event on television along with millions of other people all over the world. I also recall stepping outside and looking up at the moon that night. I thought how wonderful knowing there were three astronauts up there--the very first humans to walk the surface of another world beyond Earth. The mission was an unprecedented historical moment in time. The age of manned missions to the Moon had begun.
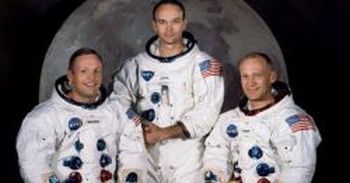
Neil Armstrong, Michael Collins and Buzz Aldrin NASA
"The Eagle has landed." NASA
"That's one small step for man, one giant leap for mankind."
In this AstroCrafts, project we will learn how to make a diorama centered around the theme of the Apollo 11 moon landing. This is a project in which the whole family can get involved. A diorama project also provides a great learning experience for students and can be worked into any educational curriculum; for example, science teachers, space camp leaders and other youth-oriented organizations. As you can see from the above first photo, a diorama is a great way to showcase the scenes from the three astronauts' time spent on the moon--a true 3D view! For my diorama scene, I chose the NASA photo of Buzz Aldrin saluting the United States flag along side the lunar module. I added Earthrise in the sky for an extra touch. I also will share with you several other ways to view a diorama (see photos below). Let's begin…
Materials
- Shoe box, cardboard box
- Scissors, X-Acto knife
- Scotch tape
- Elmers glue or Tacky glue
- LED disc light (battery powered), string of white LED lights, mini-uplight spotlight (optional)
- Watercolor paint, Tempera paint, White & black acrylic paint, Colored markers, Crayons, pencil or pen
- Poster board or corrugated cardboard (cut out in sheets)
- Construction paper, poster board or art paper
- Printer
- Flour
- Paint brushes
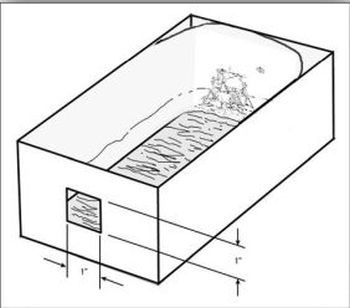
Below are two examples of different ways to view a diorama. Each opening was carved out using an X-Acto knife.
Peephole View
Curved Opening View
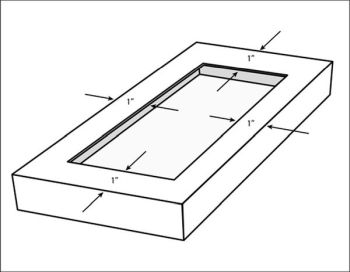
Below is a peephole diorama made from a shoebox and its lid. Inside the box, I glued the photo layout I created with 5 sheets of printed images and taped them together to get the panoramic view. Just measure the inside width and height of the box in order to get the right fit for your diorama view. It is not necessary to print out all the sheets, instead you can print the main diorama view photo for the center and either color or paint the other four sheets of paper. This would help you save on ink and at the same time get really creative. You can also paint or color the whole scene using any art medium (suggestions above in "Materials").
To find photos of the Apollo 11 Moon Mission go to NASA photo archives online or do an online search under the key words "Apollo 11 Moon Mission photos".
Lid cut open on top provides light for the view
Peephole 3D Curved Diorama

Peephole Diorama Curved Photo Layout
To get the 3D effect--here is how I did it...
Print out a few photos of the astronauts on the moon and the Lunar module. Print two separate photos; one of the Lunar module on the moon and another of Buzz Aldrin saluting the United States flag. Cut out Buzz Aldrin in one photo and then the picture of the flag. (I used a little swizzle stick for the flag pole.) I glued a paper tab (2" length) on the back of the astronaut and flag cut out (See photo A and B below). Then I glued the paper tabs of both cutouts onto the photo background. Find a photo of Earthrise from the Moon online and print. Cut it out, place a 1 inch paper tab on the back, and glue on to the black sky. Stand back and take in the clever 3D effect!
For the moon surface, you can create one from a mixture of flour and white and black paint. Cut out a sheet of cardboard to fit the size of the bottom of the diorama. In a bowl, take 2-parts flour and 1-part white paint with a dash of black paint and mix (to create a light gray color). It will be lumpy…perfect for a moon surface. Place the paint mixture onto the cardboard and spread out. Let dry and then glue the moon surface to the bottom of the diorama.
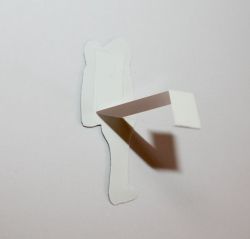 Photo A |
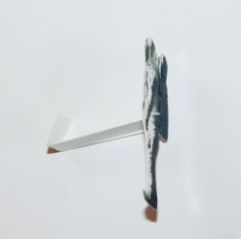 Photo B |
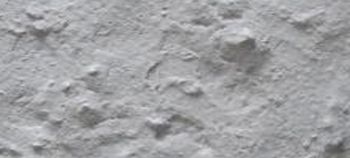
Moon surface made from flour and acrylic paint
Just so you can enjoy your diorama at night, consider adding lights. I recommend the battery powered LED disc lights where you can glue or stick them into the diorama. White string lights can work well, too. You can also use a mini-uplight lamp to shine onto your diorama. All the lighting I have mentioned sells for under $10.00 each at most home improvement stores.
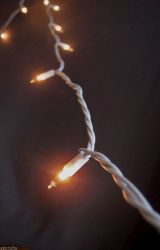 String Lights |
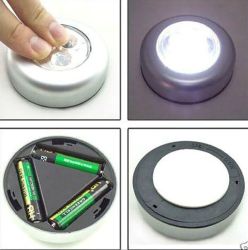 LED battery powered disc lights |
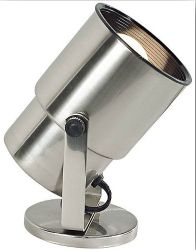 Mini-uplight lamp |
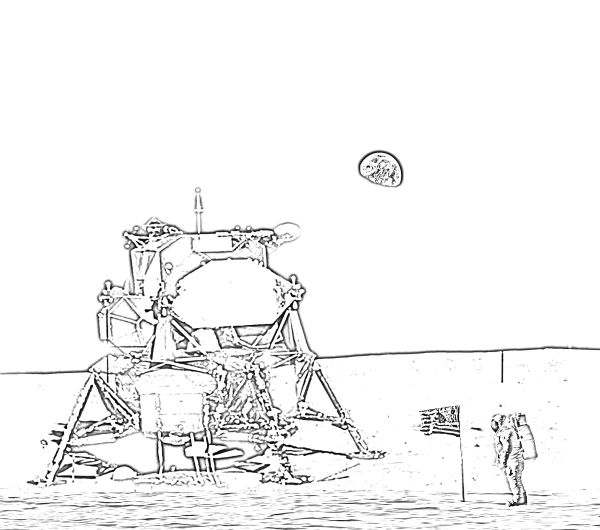
Apollo 11 Moon Landing Coloring Pages
I have included three coloring pages for children below. You can use watercolor paints, colored markers, crayons, or colored pencils. Simply click on the link below the image, save to file, and then print the page. You can also draw your own coloring page or moon landing art scene once you have familiarized yourself to the many images of the Apollo 11 moon landing online.
Of course, there are many other clever ideas on how to create a diorama. Do some online research and hundreds of sites covering how to make a diorama will show up. There so many different ways to construct and design one you will have a hard time making up your mind which one to choose!
Coloring page I created from the photo of the featured Diorama shown above.
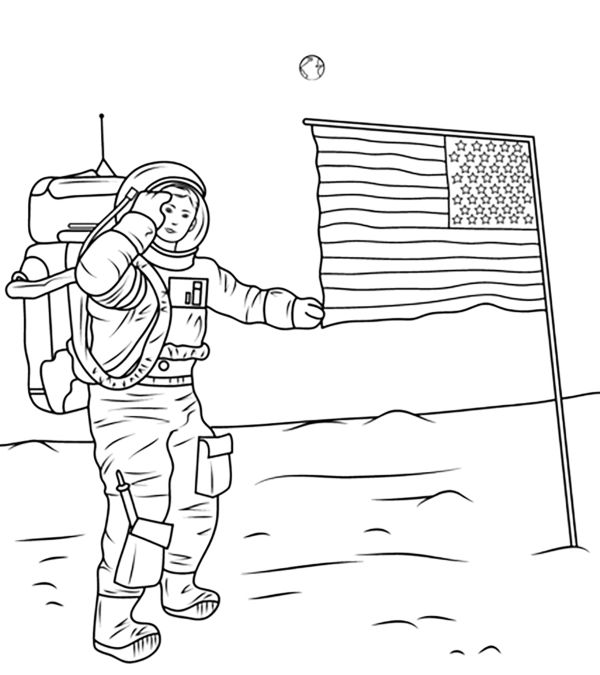
Neil Armstrong salutes the flag coloring page.
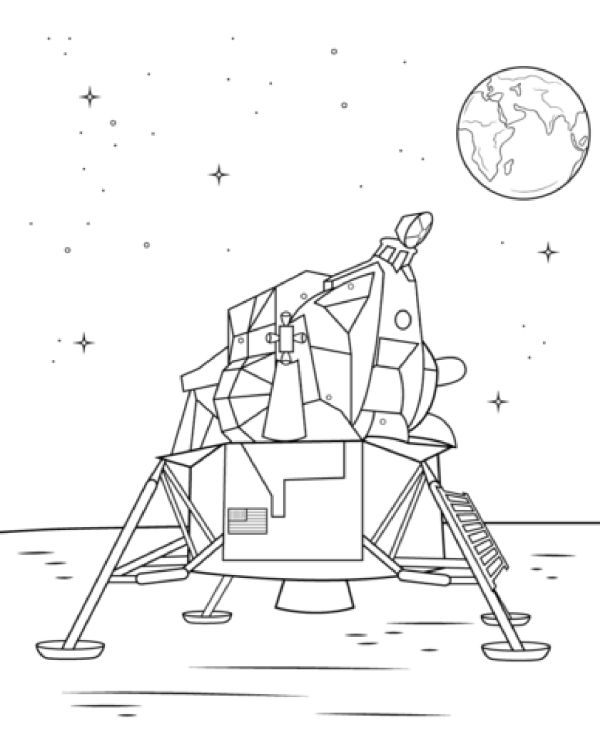
Apollo 11 Lunar module on moon coloring page.
I hope you enjoy creating your own diorama for this very special anniversary of the Apollo Moon Landing. And while you are in the midst of that project, be sure to check out all of the Global Astronomy Month programs and activities scheduled for this April on the Astronomers Without Borders website. Just click on this link to go there and check it out: https://astronomerswithoutborders.org/global-astronomy-month-2019.html. Remember, it is 'One people, One Sky'. Keep looking up!